How to Install a Tankless Water Heater?
Are you considering upgrading to a tankless water heater for your home? Look no further! In this comprehensive guide brought to you by Plumbing Service Group, we'll walk you through the process of installing a tankless water heater with precision and expertise. From preparation to final adjustments, we've got you covered. Let's dive in and discover how you can enjoy endless hot water and energy savings with a tankless water heater installation.
How to Install a Tankless Water Heater
Step 1: Choose the Right Location
Before you begin the installation process, it's essential to select the optimal location for your tankless water heater. Ideally, choose a spot close to the main water source and electrical or gas supply to minimize installation costs and ensure efficient operation. Additionally, consider factors such as ventilation requirements and clearance space to comply with safety regulations and manufacturer guidelines.
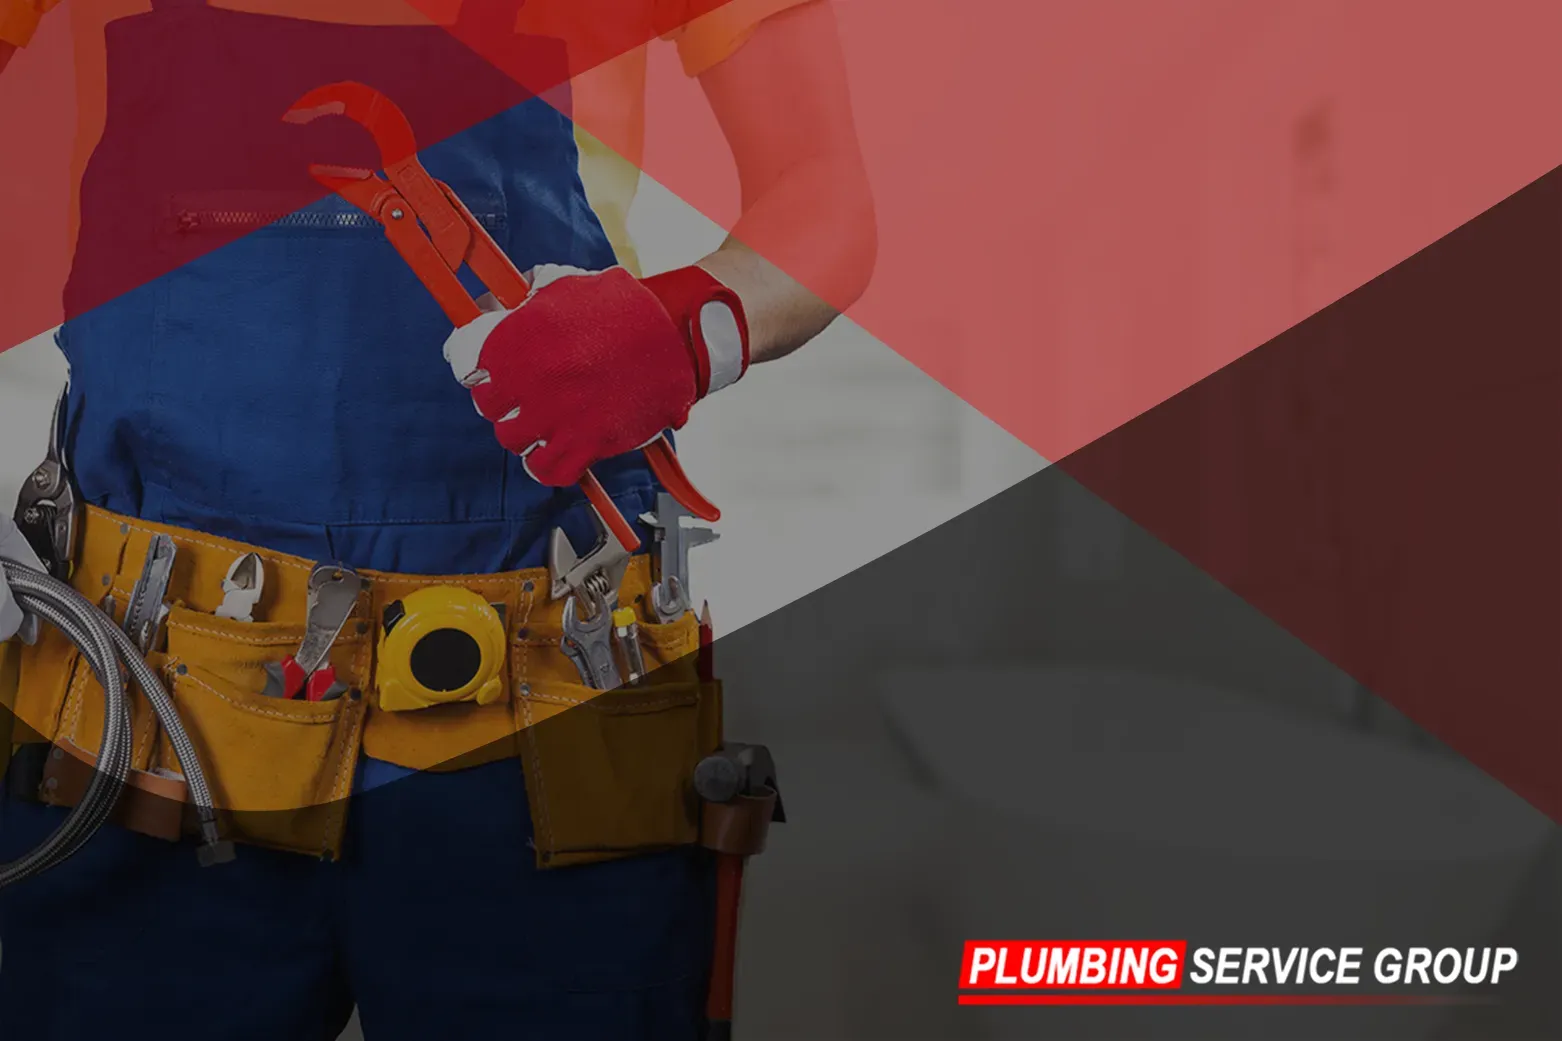
Step 2: Gather Your Tools and Materials
Next, gather all the necessary tools and materials for the installation process. This typically includes:
- Tankless water heater unit
- Mounting hardware
- Venting materials (if applicable)
- Gas or electrical connections
- Pipe fittings and connectors
- Teflon tape
- Adjustable wrench
- Screwdriver
- Pipe cutter
- Level
Having everything you need on hand will streamline the installation process and ensure a smooth transition to your new tankless water heater.
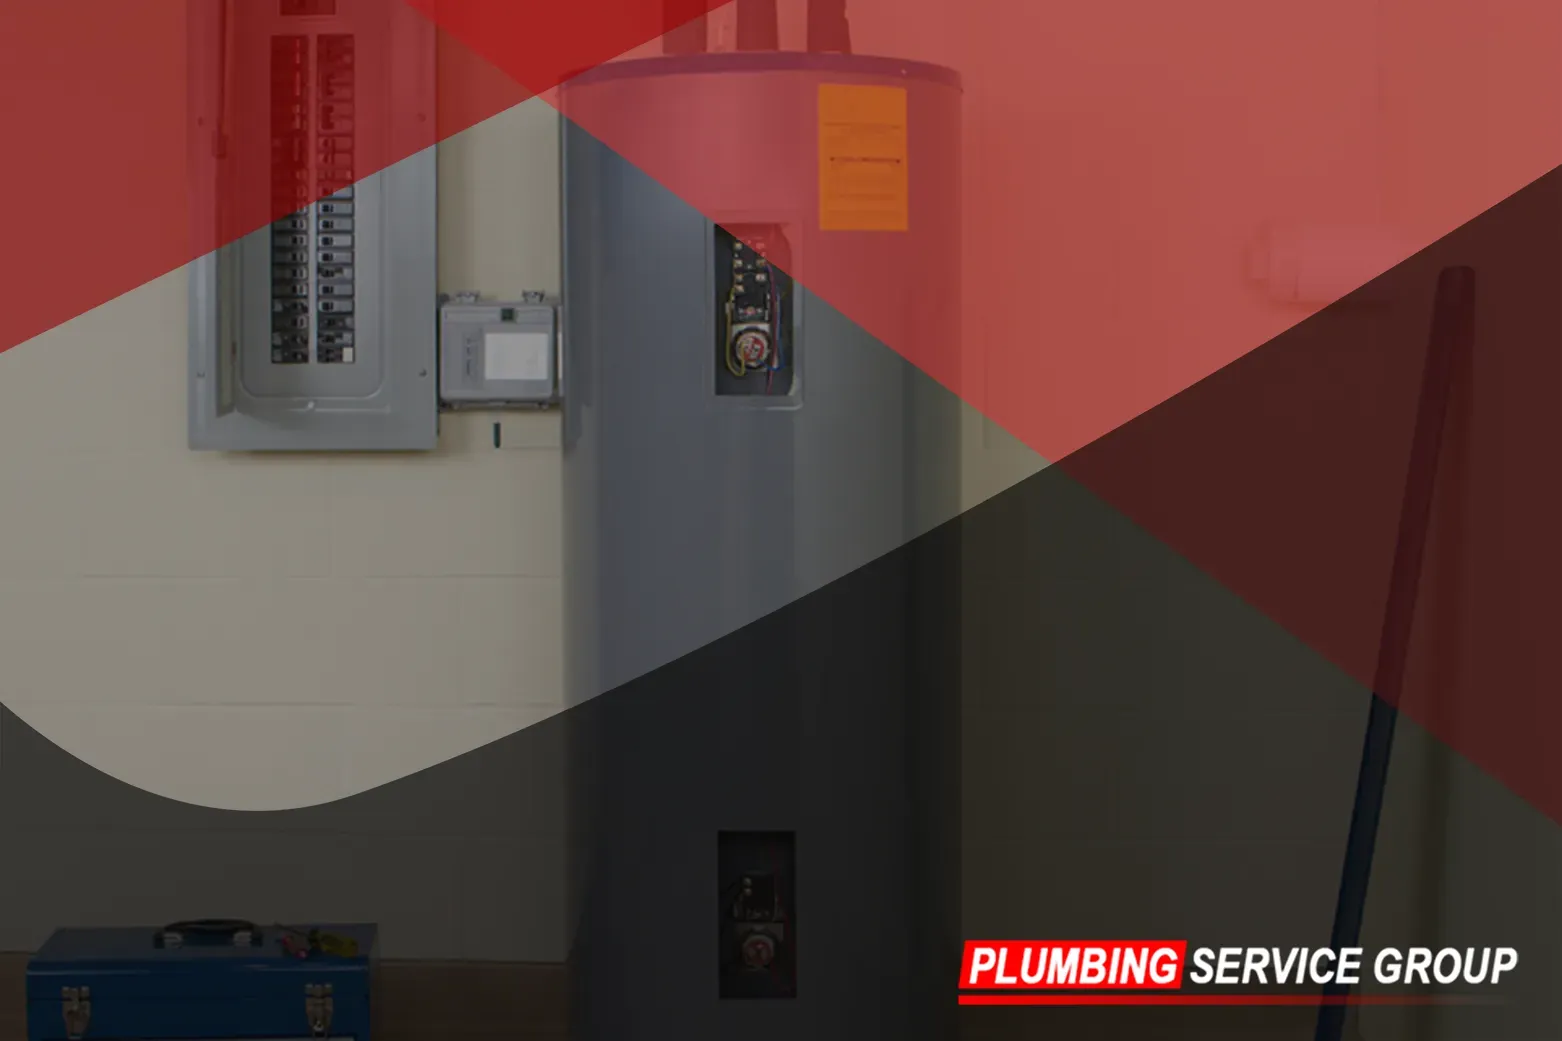
Step 3: Install the Water Heater Unit
Begin by mounting the tankless water heater unit to the wall using the provided mounting hardware. Ensure that the unit is level and securely fastened to prevent any movement or instability. If you're installing a gas-powered unit, make the necessary gas connections following the manufacturer's instructions. For electric units, connect the electrical wiring according to local building codes and safety standards.
Step 4: Connect the Water Supply
Once the tankless water heater unit is securely in place, it's time to connect the water supply lines. Use appropriate pipe fittings and connectors to establish a watertight connection between the unit and the main water supply. Be sure to use Teflon tape on threaded connections to prevent leaks and ensure a secure seal.
Step 5: Ventilation (if applicable)
If your tankless water heater requires ventilation, such as a gas-powered unit, carefully install the venting materials according to the manufacturer's specifications. Proper ventilation is essential for safely expelling combustion gases and ensuring optimal performance of the water heater.
Step 6: Test and Adjust
Once the installation is complete, turn on the water supply and power up the tankless water heater unit. Check for any leaks or irregularities in operation, and make any necessary adjustments to ensure everything is functioning correctly. Additionally, set the temperature to your desired level and test the hot water flow at various fixtures throughout your home to confirm consistent and reliable performance.
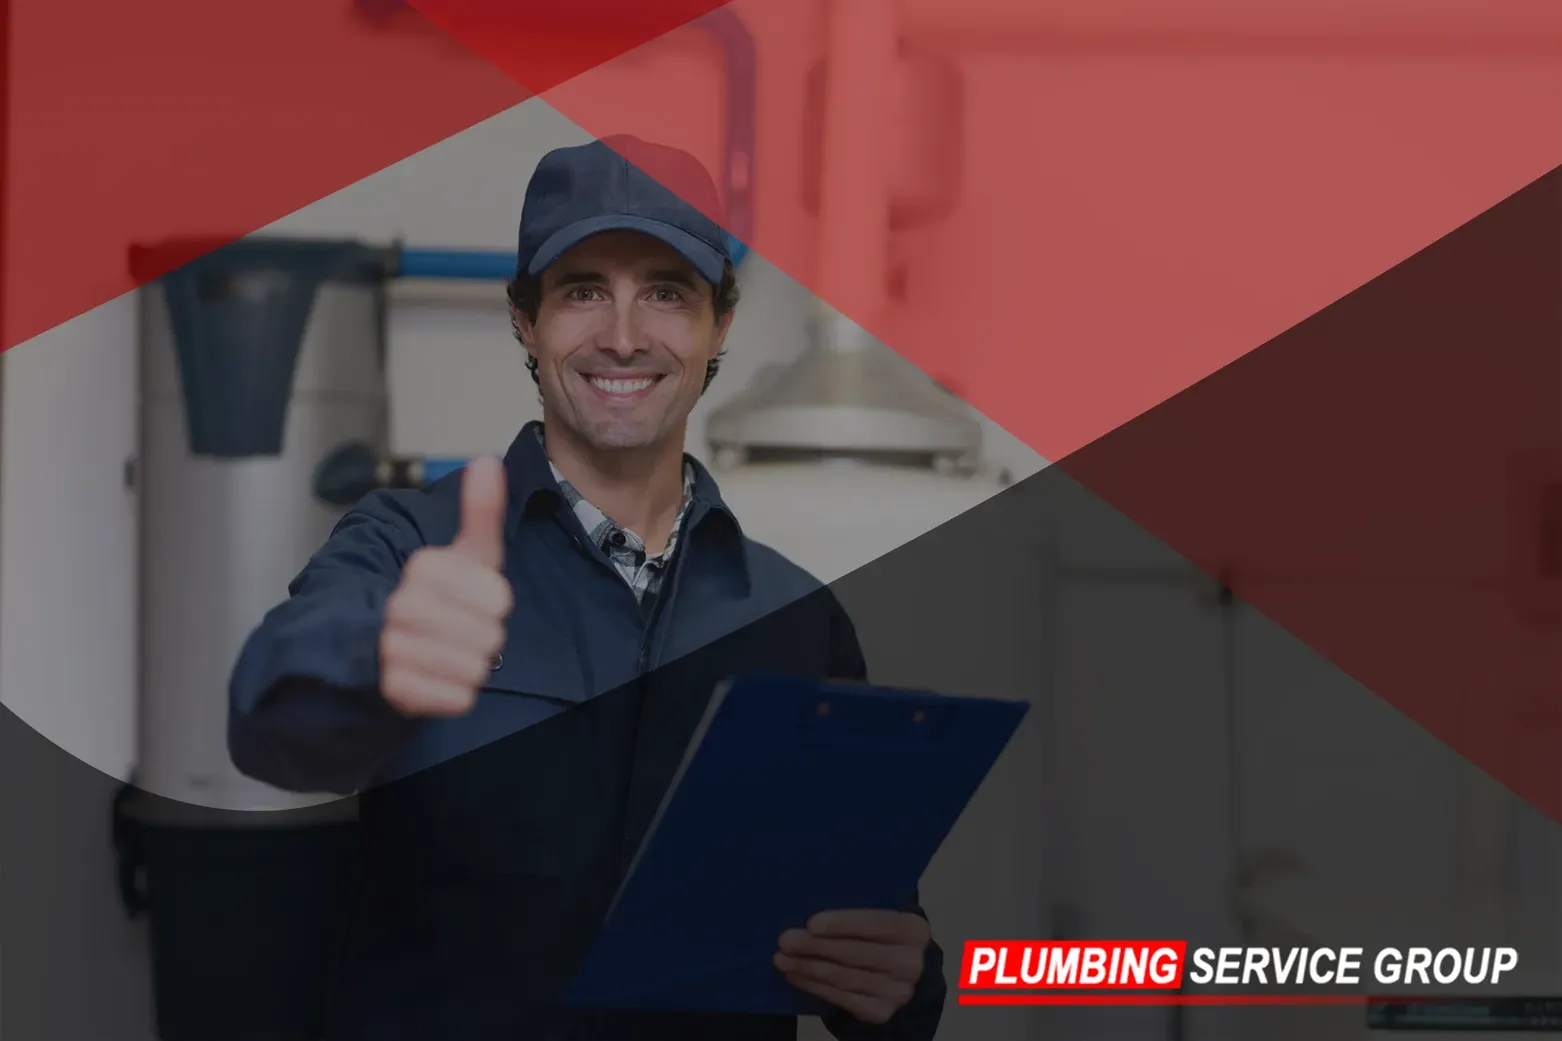
Step 7: Enjoy Endless Hot Water
Congratulations! You've successfully installed a tankless water heater and are now ready to enjoy the benefits of endless hot water and energy savings. With proper maintenance and regular servicing, your tankless water heater will provide reliable performance for years to come, keeping your home comfortable and efficient.
Trust the Experts at Plumbing Service Group
When it comes to installing a tankless water heater, precision and expertise are paramount. By following this step-by-step guide and enlisting the help of a professional plumbing service like Plumbing Service Group, you can ensure a seamless installation process and enjoy the many benefits of a tankless water heater in your home. Upgrade to a tankless water heater today and experience the convenience, efficiency, and comfort it has to offer. For all
water heater services, do not hesitate to contact us!