Get in touch
555-555-5555
mymail@mailservice.com

How to Drain a Water Heater?
Welcome to Plumbing Service Group's expert guide on how to drain a water heater like a pro. Draining your water heater is an essential maintenance task that helps remove sediment buildup, improve efficiency, and prolong the lifespan of your unit. In this comprehensive guide, we'll walk you through the step-by-step process of draining a water heater safely and effectively, complete with tips, tricks, and insights to ensure a successful outcome.
Step-by-Step Guide on How to Drain a Water Heater
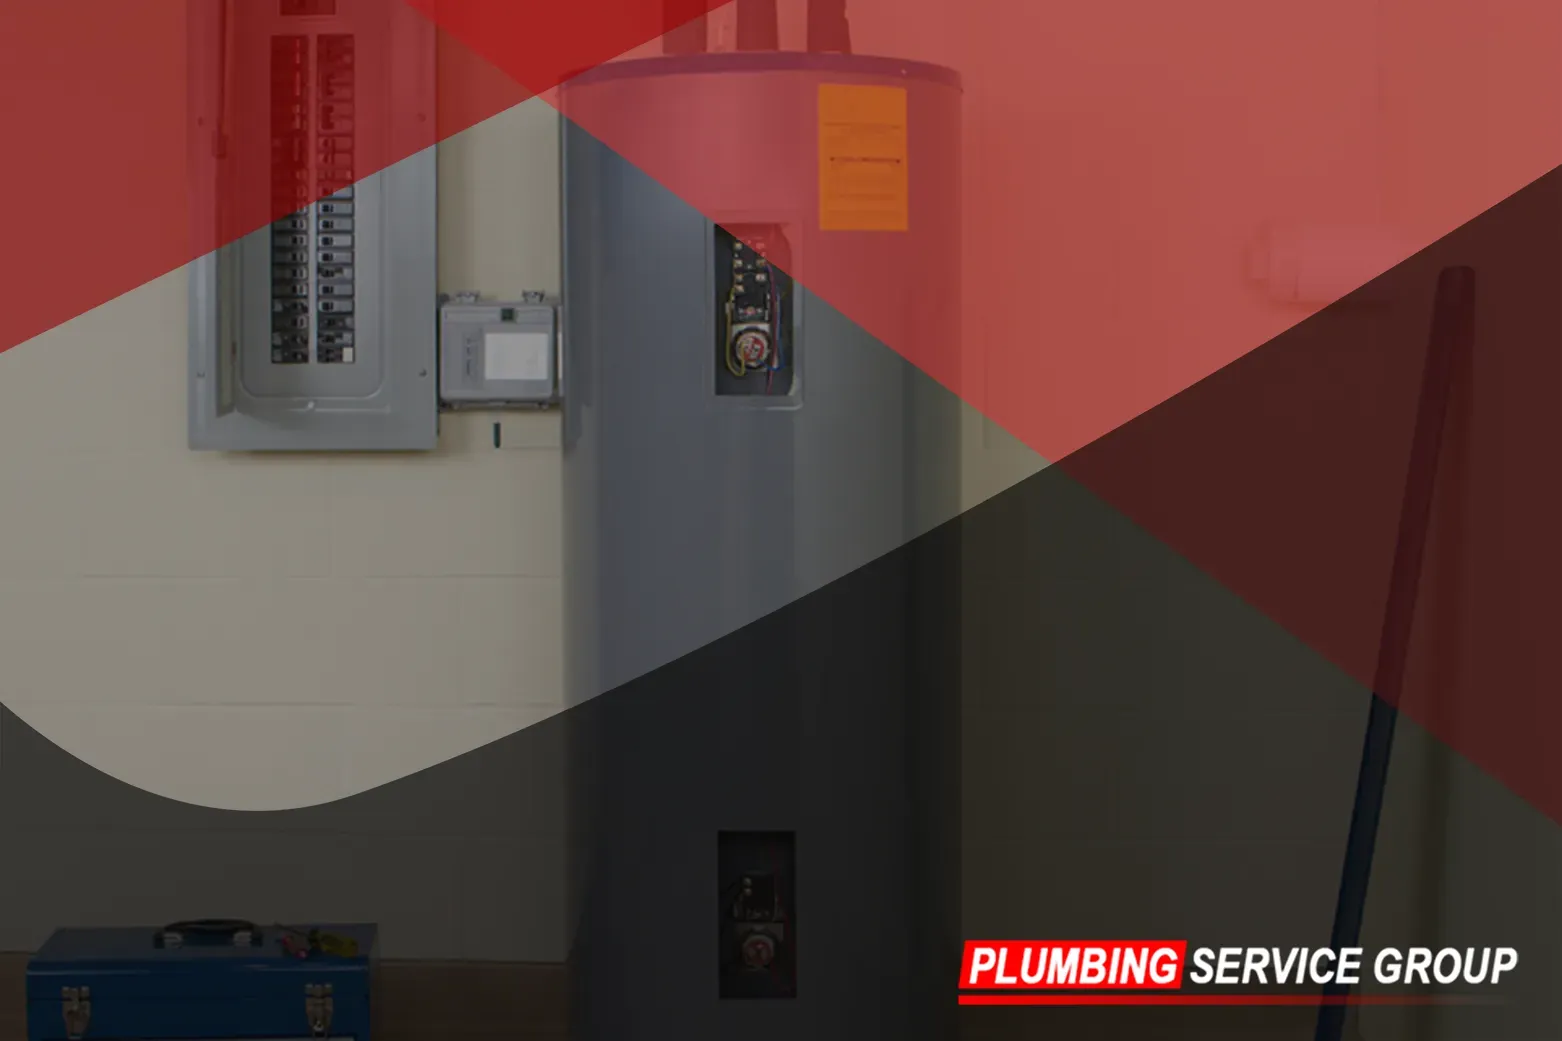
Step 1: Turn Off the Power or Gas Supply
Before beginning the draining process, it's crucial to turn off the power or gas supply to your water heater to prevent accidents and ensure your safety. For electric water heaters, locate the circuit breaker or fuse box and switch off the power to the water heater. For gas water heaters, turn the gas control knob to the "off" position to shut off the gas supply.
Step 2: Allow the Water Heater to Cool
Once the power or gas supply is turned off, allow the water heater to cool for several hours before proceeding with the draining process. Draining a water heater can be dangerous due to the high temperature of the water inside. Allowing the water to cool reduces the risk of scalding or burns during the draining process.
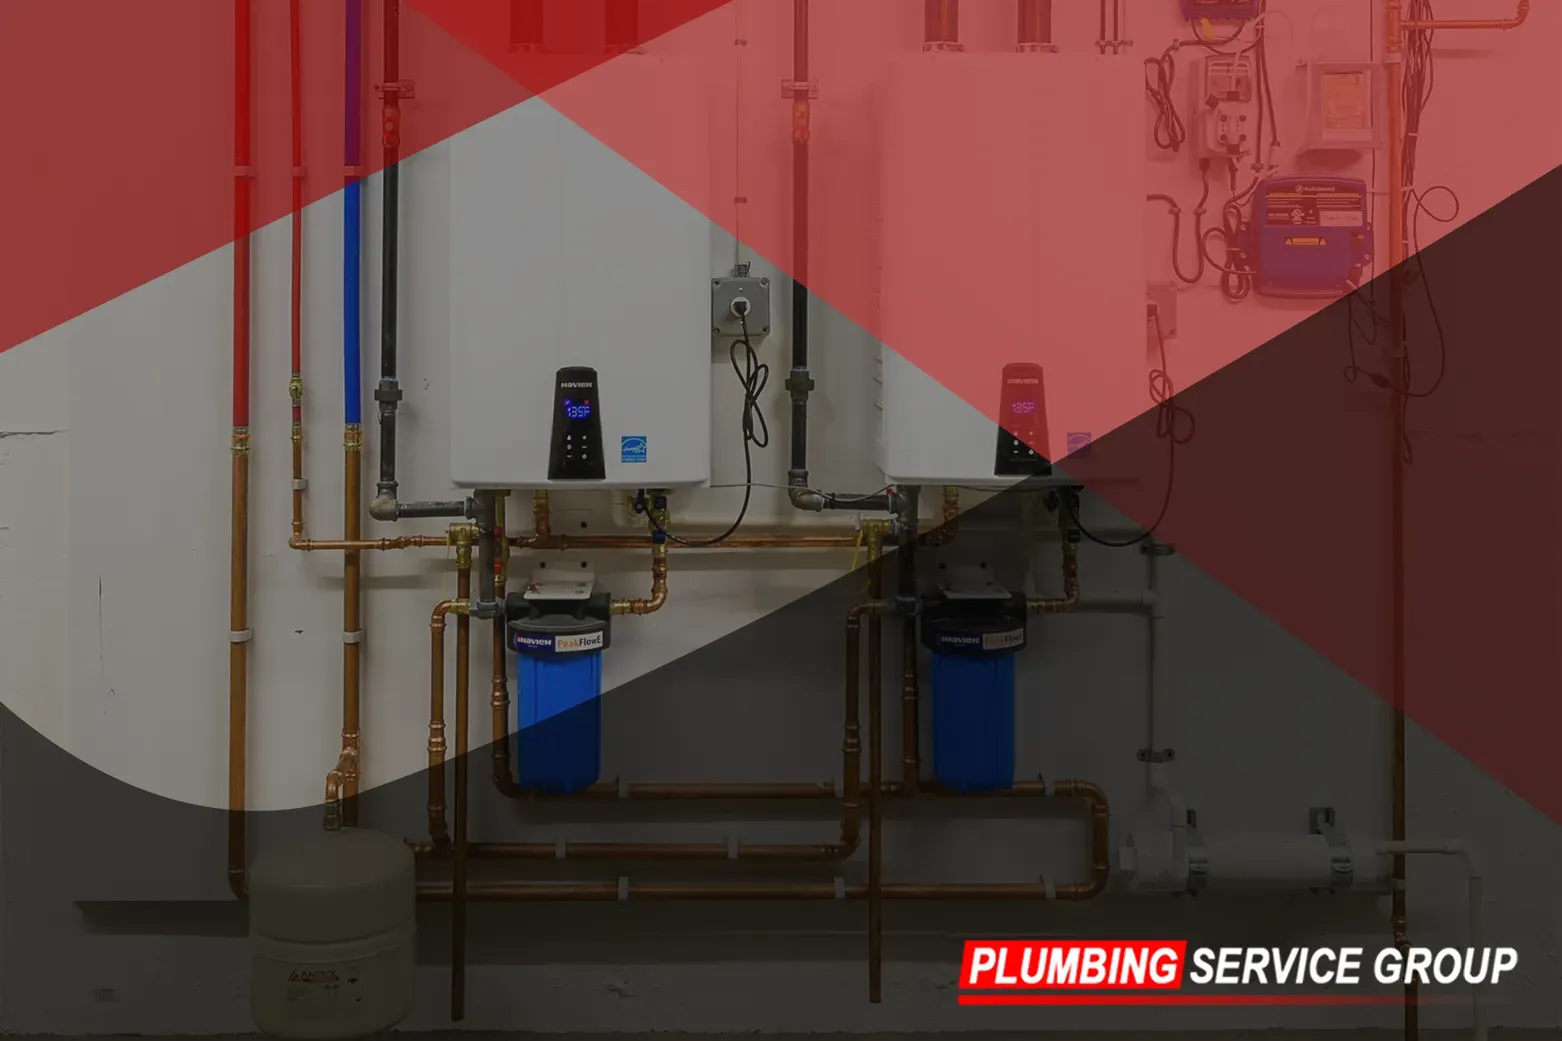
Step 3: Locate the Drain Valve
Next, locate the drain valve on your water heater. The drain valve is typically located near the bottom of the unit and resembles a hose bib or spigot. Attach a garden hose to the drain valve to direct the water away from the unit and prevent flooding or water damage in the surrounding area.
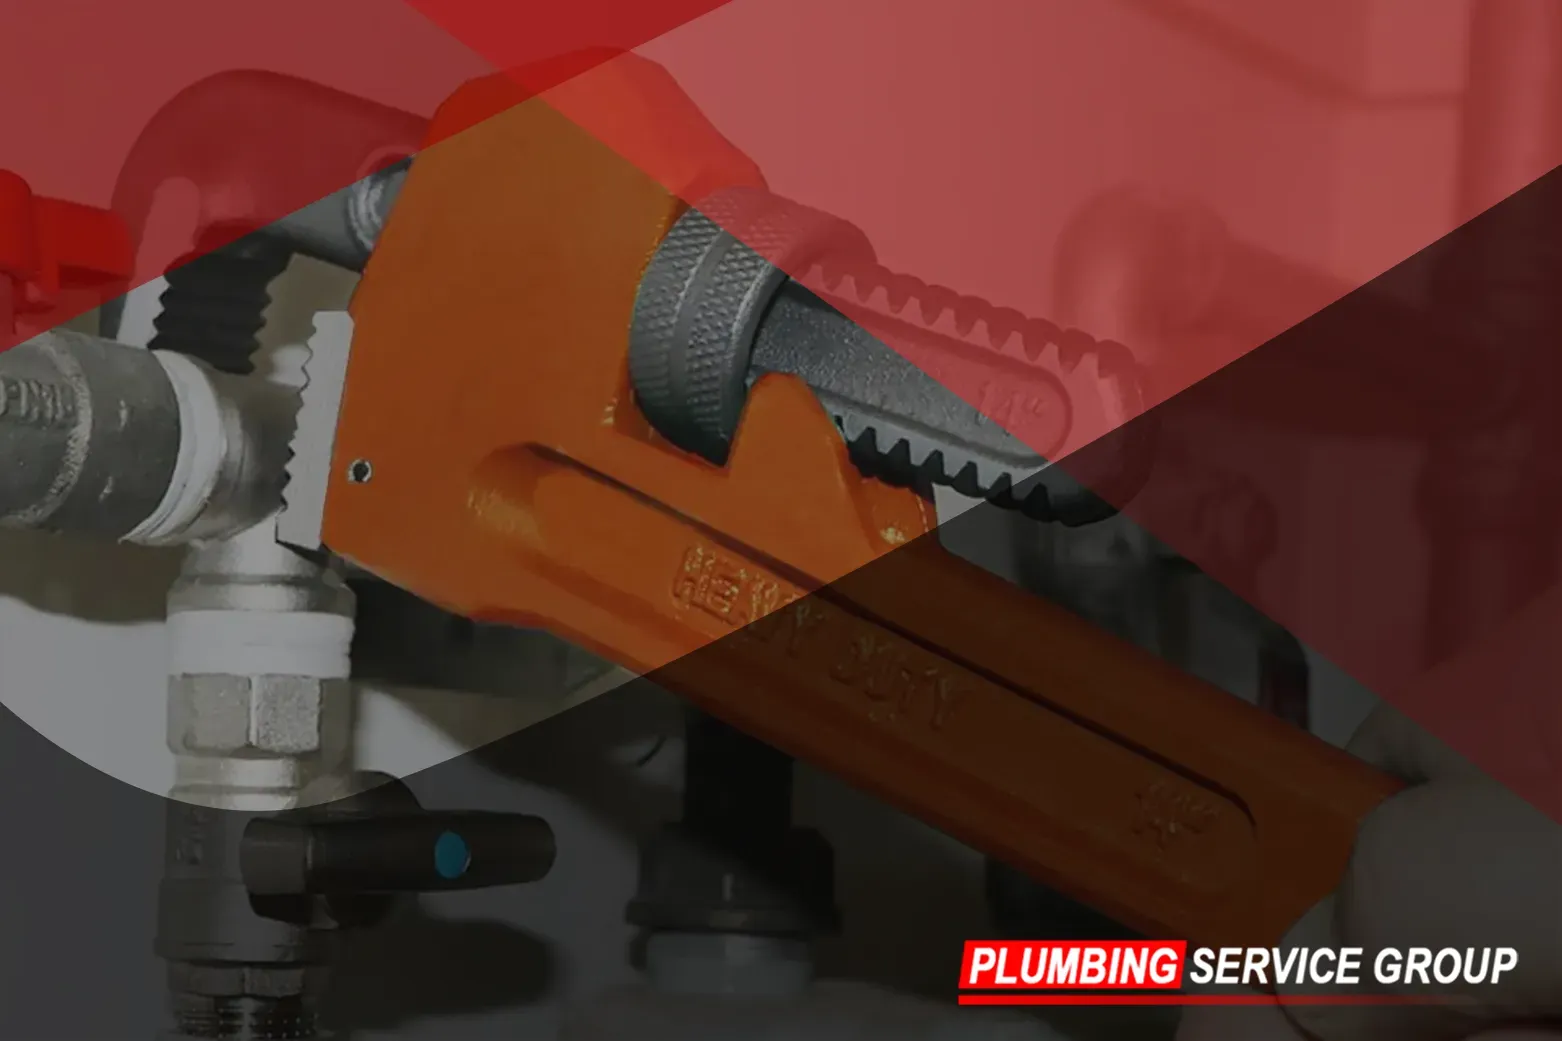
Step 4: Open the Drain Valve
Once you've attached the garden hose to the drain valve, open the valve by turning it counterclockwise with a wrench or pliers. Be prepared for hot water and sediment to flow out of the drain valve and into the hose. If the water heater has a temperature and pressure relief valve, open it to allow air into the tank and facilitate drainage.
Step 5: Drain the Water Heater
Allow the water heater to drain completely by letting the water flow through the garden hose and into a nearby drain or outdoor area. Monitor the draining process closely and be prepared to adjust the hose or valve if necessary to prevent leaks or spills. Once the water heater is fully drained, close the drain valve by turning it clockwise with a wrench or pliers.
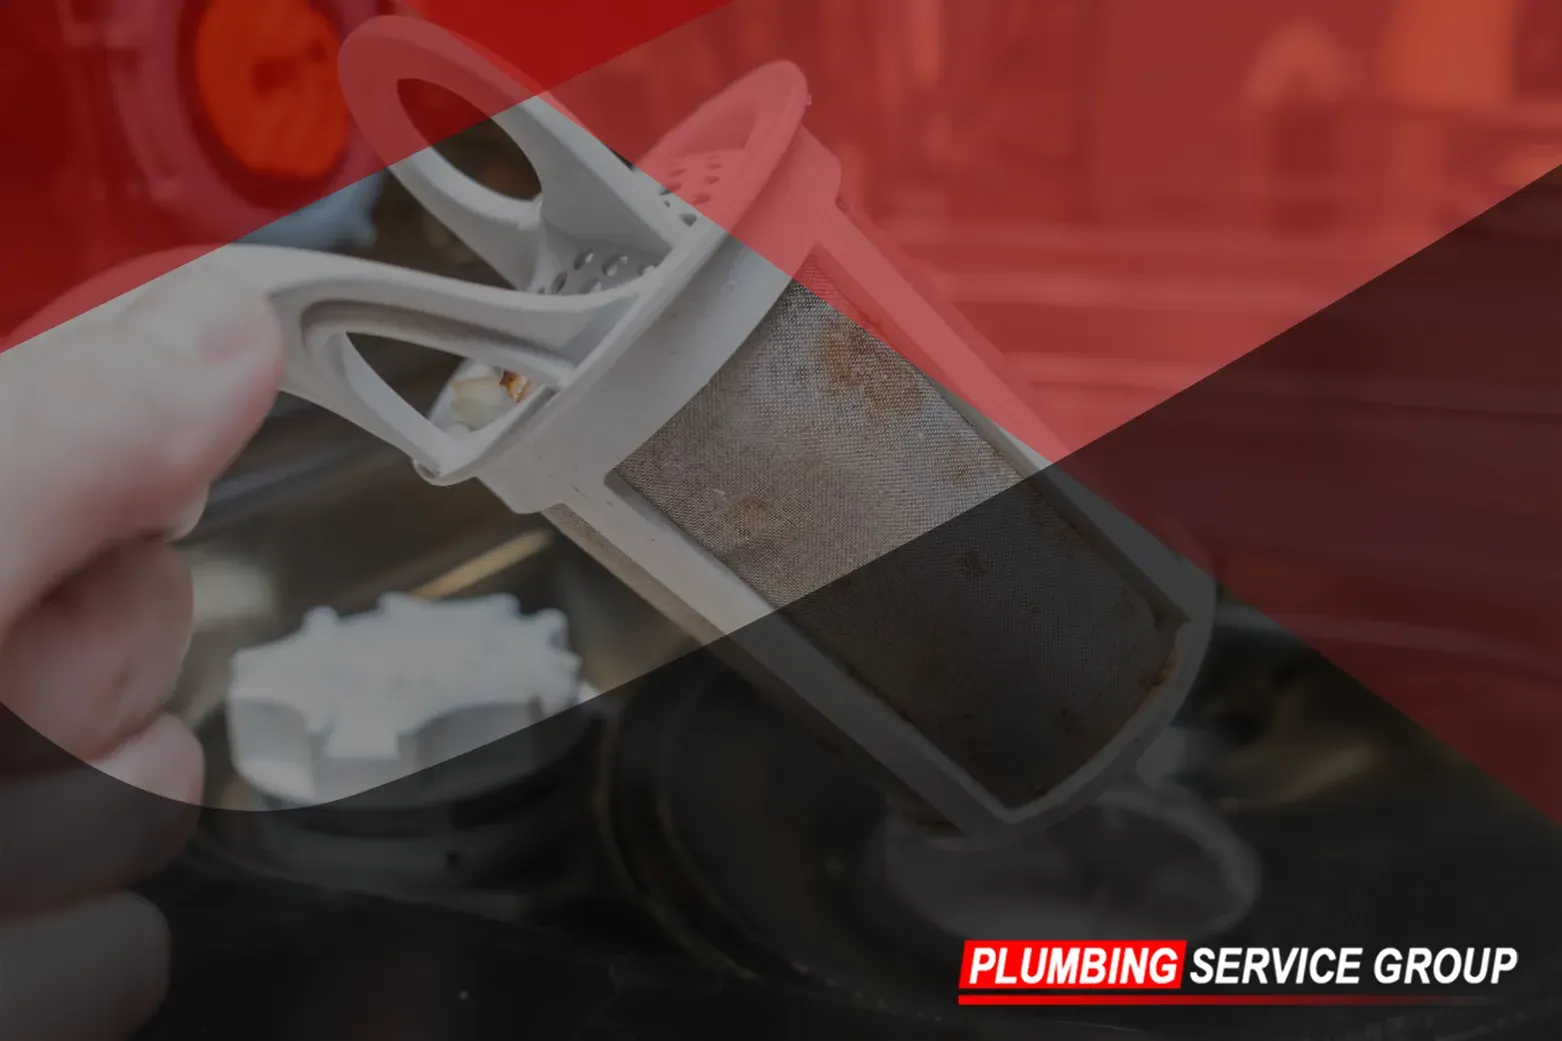
Step 6: Flush the Tank (Optional)
For optimal performance and efficiency, consider flushing the tank to remove sediment buildup and debris. To flush the tank, close the drain valve and remove the garden hose. Turn the cold water supply valve back on to fill the tank partially, then repeat the draining process to flush out any remaining sediment. Continue flushing and draining until the water runs clear and free of debris.
Step 7: Refill and Restart the Water Heater
Once you've drained and flushed the water heater, close the drain valve and remove the garden hose. Turn the cold water supply valve back on to refill the tank, then turn the power or gas supply back on to restart the water heater. Monitor the unit closely for any signs of leaks or malfunctions, and contact a professional plumber if you encounter any issues.
By following this expert guide from Plumbing Service Group, you can confidently drain your water heater and ensure optimal performance and efficiency for years to come. Remember to prioritize safety throughout the process and consult a professional plumber if you encounter any
water heater challenges or concerns. With regular maintenance and care, your water heater will continue to provide reliable hot water for your home's needs.