Get in touch
555-555-5555
mymail@mailservice.com
What is Plumber's Putty?
Plumber's putty is a versatile and essential tool in every plumber's arsenal, offering a reliable solution for sealing and waterproofing plumbing fixtures. In this comprehensive guide brought to you by Plumbing Service Group, we'll explore everything you need to know about plumber's putty, including its uses, application techniques, and best practices. Whether you're a seasoned professional or a DIY enthusiast, mastering the art of plumber's putty can save you time, money, and headaches on your plumbing projects.
What is Plumber's Putty?
Plumber's putty is a soft, moldable compound commonly used in plumbing applications to create watertight seals around joints and connections. Made from a blend of linseed oil, clay, and other inert fillers, plumber's putty remains pliable and flexible over time, making it ideal for use in various plumbing projects.
Uses of Plumber's Putty
Plumber's putty is commonly used for the following applications:
- Sealing Sink and Faucet Joints: Plumber's putty provides a durable and waterproof seal around sink and faucet fixtures, preventing leaks and water damage.
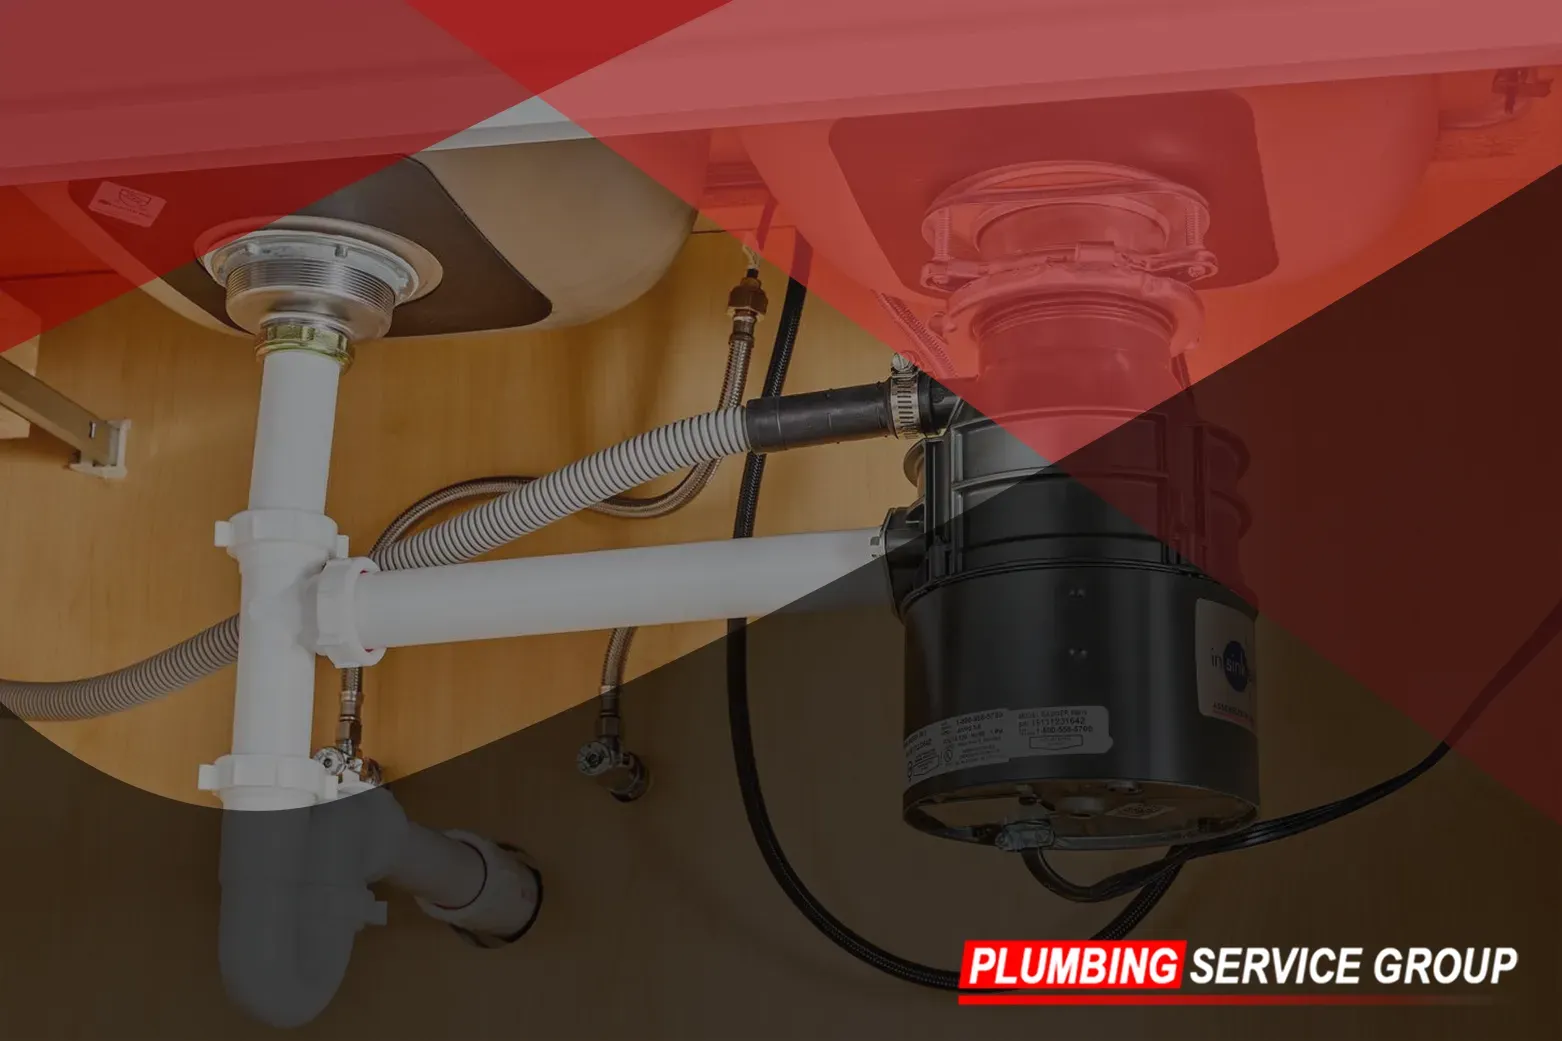
- Installing Drains and Strainers: When installing drains and strainers in sinks and tubs, plumber's putty acts as a reliable sealant, ensuring a tight and secure fit.
- Setting Toilet Bases: Plumber's putty can be used to seal the base of toilets to the floor, creating a watertight barrier that prevents leaks and stabilizes the fixture.
- Repairing Leaky Pipes: In some cases, plumber's putty can be used as a temporary fix for minor pipe leaks, providing a temporary seal until permanent repairs can be made.
Application Tips for Plumber's Putty
To achieve optimal results when using plumber's putty, follow these application tips:
- Prepare the Surface: Before applying plumber's putty, ensure that the surface is clean, dry, and free of any debris or old putty residue. This will help the putty adhere properly and create a reliable seal.
- Knead the Putty: To soften and mold the plumber's putty, knead it between your hands until it becomes pliable and easy to work with. Avoid over-kneading, as this can cause the putty to become too soft and difficult to handle.
- Apply a Thin Bead: Roll the plumber's putty into a thin, uniform bead and apply it along the joint or connection where sealing is required. Press the putty firmly into place, ensuring full coverage and a tight seal.
- Remove Excess Putty: Once the joint is sealed, use a putty knife or damp cloth to remove any excess putty and smooth the surface. This will help create a neat and professional-looking finish.
- Allow for Cure Time: Allow the plumber's putty to cure fully before testing the sealed joint or connection. Depending on the brand and conditions, this may take anywhere from a few hours to overnight.
Best Practices for Using Plumber's Putty
To ensure the best results when using plumber's putty, keep the following best practices in mind:
- Avoid Using on Porous Surfaces: Plumber's putty is not suitable for use on porous surfaces such as marble, granite, or certain types of plastics. In these cases, consider using a silicone-based sealant instead.
- Use in Well-Ventilated Areas: When working with plumber's putty, ensure adequate ventilation to prevent inhalation of fumes. Wear gloves to protect your hands and avoid prolonged skin contact.
- Check Compatibility: Before using plumber's putty with specific materials or fixtures, check for compatibility to avoid damage or staining. Test a small area first to ensure compatibility before applying the putty.
Contact Plumbing Service Group for Expert Plumbing Solutions
At Plumbing Service Group, we understand the importance of using quality materials and techniques in every plumbing project. Whether you need assistance with sealing fixtures, installing drains, or repairing leaks, our team of experienced plumbers is here to help. Contact us today to schedule a consultation and experience the difference of working with the leading experts in plumbing services.
Office
Email us
Call us
All Rights Reserved | Plumbing Service Group


